

How to Read a Topographic Map for Hill Walking in the UK
Contour lines, map scales, grid references and compass bearings explained plainly, with practical steps for navigating UK hills safely when the cloud comes down.
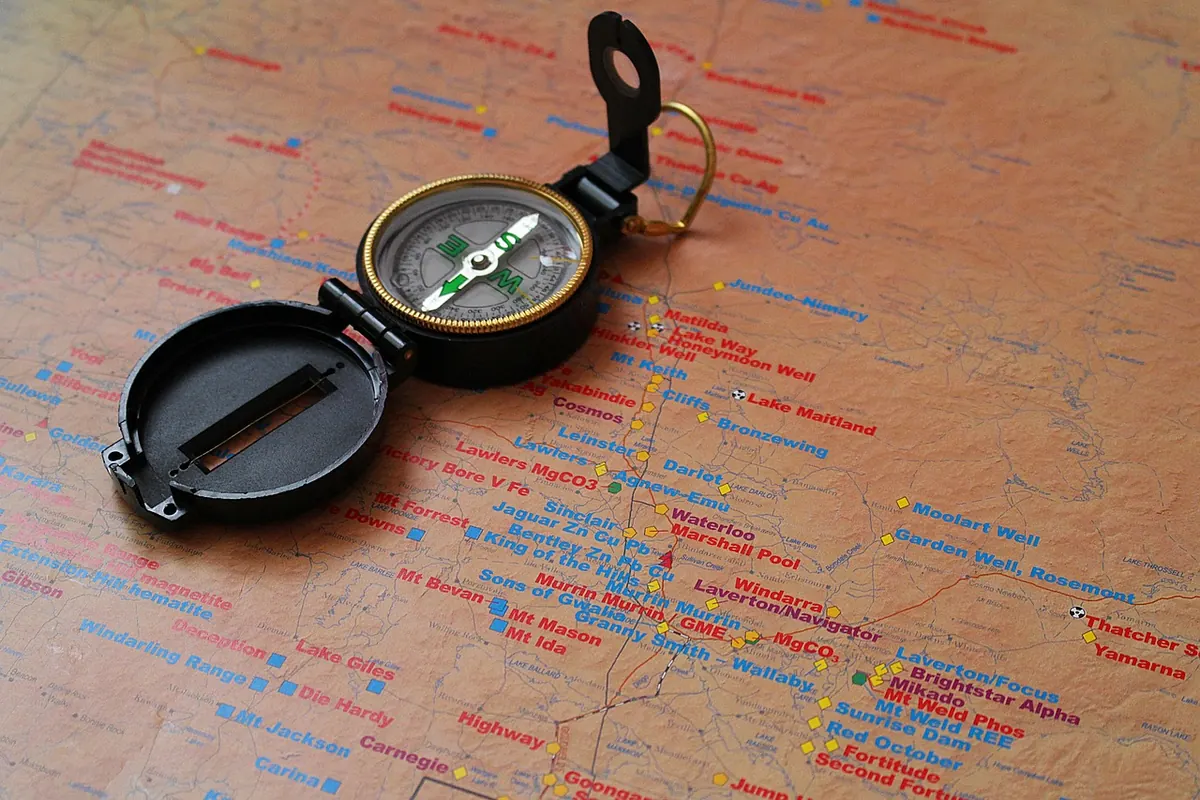
A paper map and a compass weigh almost nothing, never run out of battery and work perfectly well in driving rain. The catch is that a topographic map only helps if you can read it. Contour lines that look like random squiggles at the kitchen table suddenly make sense the moment you match them to the ground under your boots — and that moment is worth chasing. Here are the four skills that matter most for hill walking in Britain: scale, contours, grid references and bearings.
Scale: what a centimetre actually means
Every map is a fraction of the real world, and the fraction tells you how much detail you get. The two Ordnance Survey series you will meet most often on UK hills are Explorer at 1:25,000 and Landranger at 1:50,000.
On an Explorer sheet, 4 cm on paper equals 1 km on the ground, so 1 cm is 250 m. On a Landranger, 2 cm equals 1 km. Explorer maps show field boundaries, small streams, boulder fields and individual crags; Landranger maps are better for planning a day and seeing how a whole range fits together. Most hill walkers navigate from Explorer and plan from Landranger, or from one of the equivalent Harvey maps.
Use the scale bar at the bottom of the sheet rather than guessing. Lay a bit of string or the edge of a piece of paper along your route, mark the bends with a pencil, then measure it against the bar. Straight-line measurement always flatters you: a path that wriggles around three spurs is longer than the line you drew. A common rule of thumb for timing is roughly 4 km/h on level ground, plus about a minute for every 10 m of ascent — then add more if the ground is boggy or you are carrying a heavy pack.
Contours: reading the shape of the ground
Contour lines join points of equal height. On Explorer sheets the interval is usually 5 m, on Landranger 10 m, and the legend on your map will confirm it. Every fifth line is drawn thicker and carries a number — so on a 5 m map the bold lines sit at 25 m, 50 m, 75 m and so on. Those bold lines are your handrail when you are working out how high you have climbed.
The spacing does the work. Contours packed tightly together mean steep ground; lines spread far apart mean a gentle slope. Where they bunch into a solid black mass, expect crag or very steep ground indeed.
The patterns worth memorising
- V pointing uphill — a re-entrant, the fold in the hillside where water collects. Often a stream runs down it.
- V pointing downhill — a spur or ridge. Ground that sticks out into the valley.
- Concentric rings — a summit, usually with a small black number beside it giving the height in metres.
- A shallow dip between two rings — a col or saddle, the low point on the ridge between two tops.
- Short hachured lines — rock outcrops and steep faces you would rather not walk off.
Get into the habit of asking what a slope faces. A north-east-facing corrie holds snow and stays cold long after the rest of the hill has thawed, and a steep west-facing slope is where you will feel the wind first.
Grid references: the language of the hills
The National Grid covers the whole country, and each map carries two letters for the 100 km square it sits in — SD, NY, NN, SH and so on. Those letters appear at the corners and repeat in blue across the sheet so you can always find them.
Numbers are read the same way every time: eastings first, then northings. Along the corridor, up the stairs. A four-figure reference such as NY 342 683 identifies a 1 km square. To get a six-figure reference, picture that square divided into ten across and ten up, estimate how far your point sits across it and how far up, and put those two digits in the middle of each pair. So NY 3472 6839 pins you down to roughly 100 m — close enough for a mountain rescue team.
It is worth practising this at home with a few known points, because in wind and rain you will not have time to work out the system from scratch. Four figures is fine for a lunch spot, six figures is what you want in an emergency.
Bearings and setting the map
To orient the map, lay it flat and put the compass on it, then turn the whole map — not the compass — until the orienting lines in the compass housing line up with the grid lines and the red end of the needle sits in the orienting arrow. Now what is in front of you is what is on the paper.
For travelling on a bearing, the sequence is always the same:
- Place the long edge of the compass baseplate so it runs from where you are to where you want to be, with the direction-of-travel arrow pointing at your destination.
- Turn the bezel until the orienting lines inside it sit parallel with the map's grid lines, with N at the top of the sheet.
- Read the number at the index line. That is your grid bearing.
- Check the map margin for the difference between grid north and magnetic north. It is small across most of Britain at the moment, but it changes year by year and the margin tells you the value and the date it was calculated.
- Hold the compass flat, turn your body until the red end of the needle sits inside the orienting arrow, then walk in the direction the arrow points.
- Pick an object on that line, walk to it, and repeat rather than staring at the compass for a kilometre.
Two tricks for rough ground
Aiming off means deliberately steering a few degrees to one side of your target so you hit a fence, stream or path and know which way to turn. Handrails are the features you follow instead of a bearing — a wall, a ridge, a burn. Both save you from standing in the middle of a featureless plateau wondering which hummock is yours.
Practise before you need it
Take a map you know well — a local hill, a coastal path — and spend an hour walking with the map folded to the section you are on. Tick off features as you pass them: the wall corner, the stream junction, the point where the contours start to tighten. That habit is what keeps you found.
Before any hill day, tell someone your route and expected return time, carry the map in a waterproof case with a spare compass, and check the mountain weather forecast rather than a town one. If you become unsure, stop early, eat something, put a layer on, and work back to the last place you were certain about. If you need help, dial 999 and ask for the police, then mountain rescue, and give your six-figure grid reference and the map sheet you are using.
Navigation is a skill that fades without use, so treat a misty day on familiar ground as free training. A short course run by a club or a recognised provider will sharpen it faster still, and the confidence it gives you makes the hills far more enjoyable — especially when the cloud comes in.
Photo: PIX1861 / Pixabay